Showing posts with label Makeup. Show all posts

Monday, May 26, 2014

Tips From A Makeup Artist

Since wedding season is strongly upon us, I've been busy with lots of ladies getting their pretty on and I thought it would be a great idea to post some tips for when you have your glamour sess with your makeup artist.  Although these are mainly for brides, they really can pertain to any event that you would use a makeup artist for... soooo, let's get started:


MAKEUP ARTIST TIPS


1. The morning of  your event, gently exfoliate and moisturize your face.  If you have dry patches on your skin, whatever makeup we put on your face will stick (in a bad way), and will stand out.  Moisturizer needs at least a good 20 minutes to really settle into your face and it's hard to wait that amount of time!
 
2. Just like if you were going to get your hair cut and you seek out a cut you like, look for pictures of makeup looks  you like or even ones you don't like.  Keep in mind, however, that you will not look exactly how the picture looks, but it will be a great stepping stone for you and your makeup artist to have a conversation about what you like or dislike about the photo. 
 
3. Pinterest is your friend when it comes to the above tip!  I have a whole board dedicated to makeup looks. 
 
 
4. Designate a person in charge.  This is more specifically for bridal parties, but if there's more than one person getting their makeup done, have someone be in charge of who is going when.  And when it's close to your turn, be ready!  I once did a wedding where they couldn't find a bridesmaid -- it took 25 minutes to locate her and that wasted a big chunk of time!  The bride was at her wits end, understandably so, so let someone else deal with that kind of stuff.  Let someone else be in charge of keeping everyone where they need to be.
 
5. This one goes hand in hand with number 4.  People working have a timeline to keep them on track.  They work around a schedule to get all people squeezed in before the designated time, and that's in addition to sanitizing brushes and makeup, as well as cleaning up between people, so when it's "your turn", be present.  Try your hardest to not having to get up out of the chair to go do something else.  It once took me over 2 hours to do a bride because everyone wanted to talk to her/hug her/get something from her/do something to her, etc., which was super cute, but because of that, it threw myself and the hairstylist off for timing because we had to play catch up for time.  Enjoy the process and relax!
 
6. Have an opinion.  You hire a makeup artist to provide a service.  If you like something, say it.  More importantly, if there is something you don't like, speak up!  There is absolutely nothing wrong with you  expressing your opinion about something you are providing money for.  Say if you like something; say if you don't.  I promise we won't get offended!  I would hate for someone to hate the way they look for their special event!
 
7. If there is something you love, bring it!  I've had people bring eye shadows they love and even  eyebrow pencils because they liked how it made their eyebrows so defined.  You don't have to specifically use something an artist brings for you, especially if there's something you know looks fabulous on you!
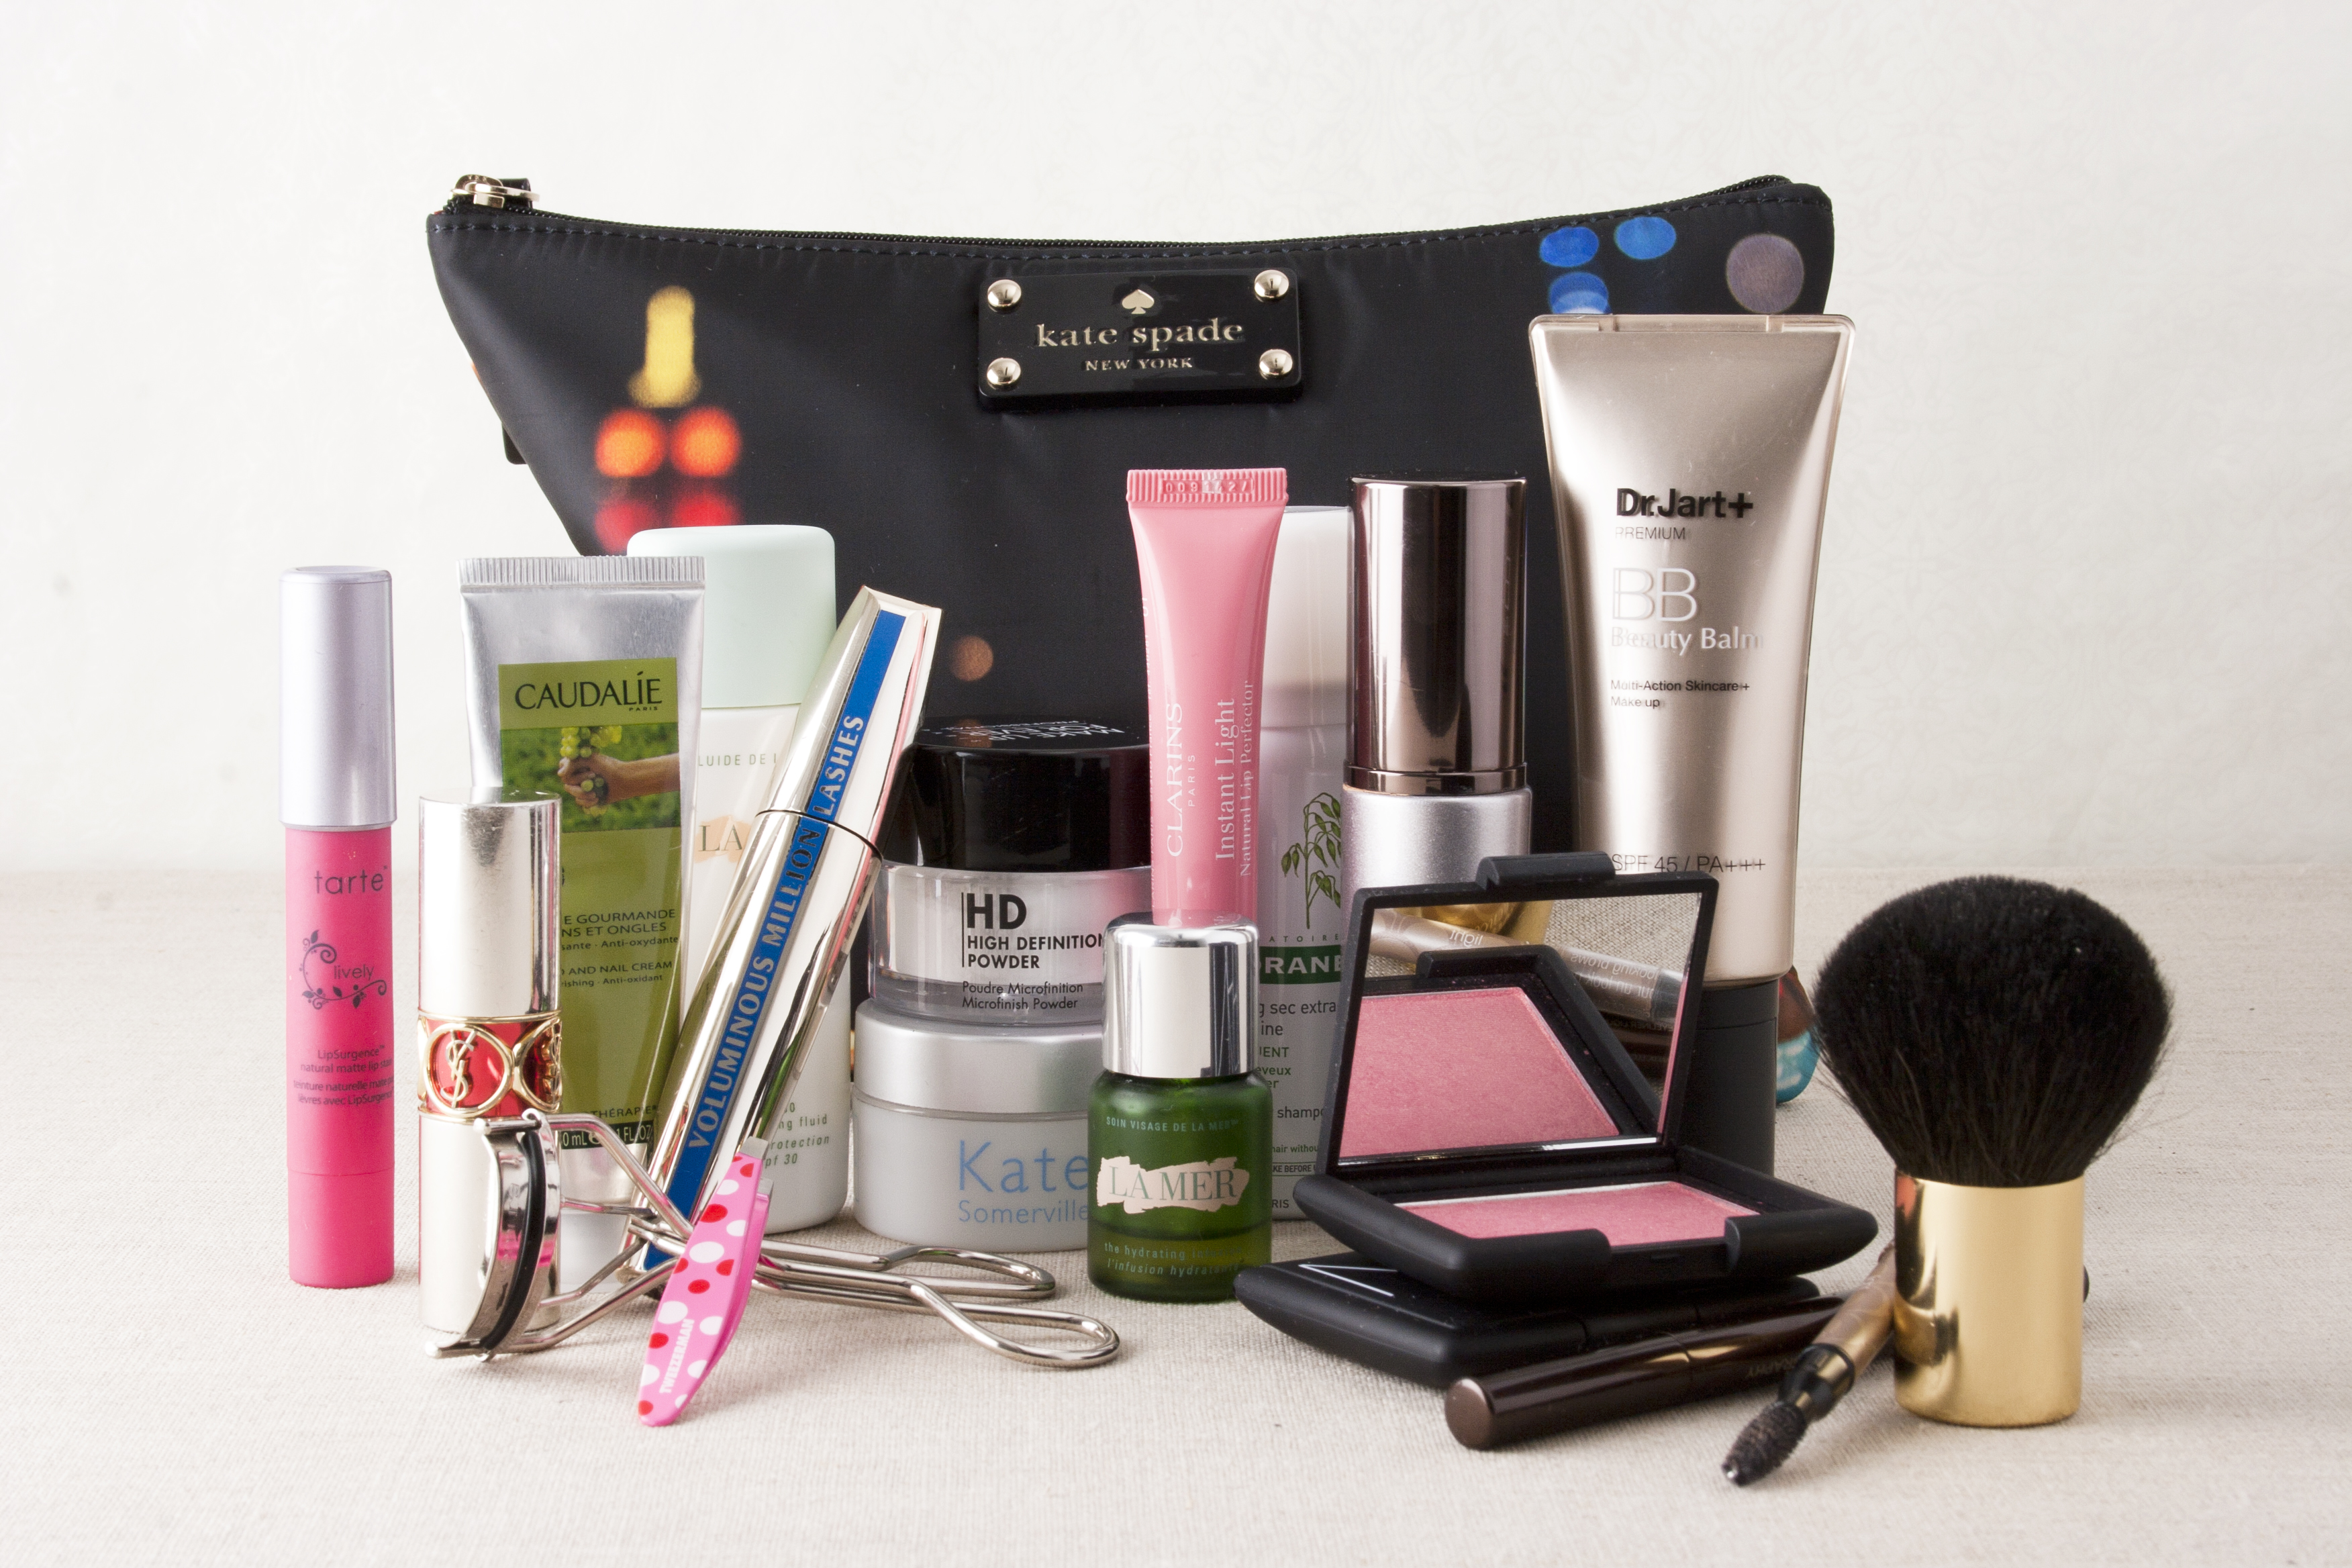


8. Eight goes with 7, but if you're a reapply type of person, bring your lipstick/gloss with you and have your makeup artist apply that as your color.  If you know you're going to be carrying a lipgloss with you throughout your day, have the artist just begin with that so when you do reapply it throughout the day, it won't interact with the color the artist used.
 
9. Especially for weddings, do a trial. I know the few days before your wedding is super busy, but for real, do a trial.  Not only are your getting a trial done for makeup of your big day, but you get to see how well you mesh with the artist, not feel the pressure of time constraints, get to check your makeup at the end of your night, and see the whole look and make sure like it!  If you can, pay that little extra and get the lashes that day too!  It really ties the whole look together!
 
10.  Don't use the hand mirror to watch every step!  I'm not saying "don't look"!  But don't put that mirror up for every single step away from you the makeup artist takes.  There's something to be said for that "finished look" moment, but to get there, there's some steps that may look a little freaky!  Watching it might make you anxious and make you not want to trust the artist, but remember, you hired them for a reason!
 
 
I hope you enjoy the process of your big day and these few steps make your day a little smoother and less stressful!  Make sure to check my Facebook Page for my Makeup Artist Business: TPD Makeup Artistry!
 
BTW, have you entered my amazing Jamberry nails giveaway?! A free sheet of Jamberry nails with a bottle of cuticle oil! Yoooooww
 

Thursday, May 8, 2014

A Manicure Worthy of Red Carpets

If you know me, you know the struggle is real with my nails.  I am forever trying new things for them because they always chip.  It doesn't matter if I use a high end products or drugstore beauties, always chips... and almost immediately.  I spend all that time doing my nails and half an hour later - BAM nail tragedy. 

I fell in love with "Shellac" manicures.  I say "Shellac" because someone told me that Shellac is a specific term -- it's technically called a gel manicure-- either way, you get it; I loved it.  But $25 every two weeks, plus a tip was not in my budget.  And that's not even paying for removal!  So when I found out that Ulta was carrying a line of at home manicures, I was ecstatic at the thought of being able to do this on my own, in my own home, at my own leisure. (And by the way, doing my non-dominant hand was harder than I expected!) But I loved that it was super easy to do! 

Where To Get: Ulta or Target
How Much: $79.99
What The Big Wigs Say: The RCM Gel Polish Pro Kit contains everything you need for a professional salon gel manicure in the comfort of your home. Our RCM Professional LED Light is especially designed to efficiently cure RCM Structure, LED Gel Polish and Brilliance in seconds. The Red Carpet - ready manicure will last weeks of long wear and shine.
The Pro Kit Comes With:
Professional LED Light - LED Gel-Curing Light (AC Power Cord Adapter Included).
  • Prep - MAX ADHESION PREP
  • Structure - BASE COAT GEL
  • Brilliance - SEAL & SHINE TOP COAT GEL
  • Revitalize - NOURISHING CUTICLE OIL
  • Red Carpet Reddy - LED Gel Polish
  • Purify - PRE & POST APPLICATION CLEANSER
  • Erase - GEL NAIL POLISH REMOVER
  • RCM Instructions Card

  • There is another kit, which is $20 less than this kit, however, this one has a much better LED light, which is more efficient for the manicure.


    1. Clean and shape your nails and push back cuticles and then "purify" your nails.
    2. Use "Prep" to remove debris/oil from nails.
    3. Use a thin layer of "Structure" and set under lamp to cure (45 seconds).
    4. Depending on your preferred opacity, apply thin layers of your chosen Red Carpet polish color and cure for 45 seconds between each later.  I personally like to apply my fingers first and then thumbs separately.  I feel like you can cure your thumbs more efficiently when you have just your thumbs in there. 
    5. Apply a thin layer of "Brilliance" and cure.
    6. After curing, use "Purify" to remove stickiness of Brilliance. 
     
    LOVE:
    • The whole process takes about 20 minutes and my favorite is when you're done... IT'S DRY!  A mommy's favorite!
    • It can definitely last two weeks and probably would if I didn't get so bored with the color... but imagine that!? Getting bored of your color; that never happened with regular polish. 
    •  I also love that you can use any gel polish with this -- Sensational, Gelish, whatever!
    • Each of the polishes are about $10 -- not too much more than a high end product. 
    HATE:
    • The removal process; you're supposed to use cotton balls soaked in acetone for 10+ minutes, but it always takes me longer and then you have to peel it away with an orange stick.  I usually peel the color off.  Oopsies. 
    • There's not a huge variety of colors in the Red Carpet Manicure Line.  If you want a specific trendy color, they are a little behind the trend. (Click here to see some swatches of the current lines.)
     
     
    Here's my most recent manicure!  This is day one, I'll keep you updated!


    Sunday, March 30, 2014

    My Top 10... Drugstore Makeup Finds

    DRUGSTORE MAKEUP FINDS
     
    Not everyone has the beauty budget of a Kardashian and quite honestly, there's really no reason to have that type of budget!  There's some great finds in your local drugstore and if there's coupons or sales involved... I'm there!
     
     
    Here's my top 10!

    1. Maybelline Baby Skin Pore Eraser - $9
    This is my go-to day-to-day primer.  It makes my BB cream stay on longer and go on smoother.  It has the texture of Smashbox Photo Primer (which is about $35!). 
     
    2. Covergirl 3 in 1 Outlast Stay Fabulous Foundation - $9
     

    This is the foundation I have in my kit and I use it on anyone and everyone!  It has a built in primer and concealer and doesn't fade or oxidize! 
     
    3. Garnier BB Cream (Combination/Oily)- $13
    If you read my Mommy's Makeup Kit Post, you know I love this stuff.  It's perfect to throw on on those days that you don't really want to put on makeup, but don't want to walk around with nekked-face either. 
     
    4. Maybelline Instant Age Rewind Dark Circle Eraser (Brightener) - ($7)
     
    This stuff is amazing.  As a mom, tired eyes go along with the title.  If you put this in a triangle under your eyes, it will create a lightness and brightness that will fake 10 hours of sleep!
     
    5. Wet and Wild Eyeshadows - ($1-$7)
     
    You literally cannot go wrong with these drugstore shadows.  They have such great pigmetation and offer so many ranges of colors. PLUS!! they go on sale!?  The above one is called "Petal Pusher" and is great for creating smokey eyes that aren't just blah grey.
     
    6. Maybelline Color Tattoos ($5)
    I love these so much, I have a whole blog post dedicated to them!  I think they are fabulous for primer or even day to day wear!  If you haven't tried these, please!!! Do it!  You won't be sorry!
     
    7. Rimmel Scandaleyes Waterproof Kohl Kajal Liners - ($5)
     
    These really are waterproof and are so creamy and pigmented.  They are amazing to put on your waterline!  I have nude, black and brown and they stay on my vanity!
     
    8. L'Oreal Lash Out Butterfly Waterproof Mascara - ($8)
     
    I have horribly straight lashes that hate staying curled.  Almost immediately after curling them, they straighten back out!  This mascara keeps them looking curled, black and lush! Make sure it's the waterproof!
     
    9. NYX Butter Gloss - ($5)
    I barely wear things on my lips (I'm a chapstick kind of girl), but when I do, I reach for one of these.  Creamy, pigmented, and not-sticky!  My favorite color is Éclair.
     
    10. Physician's Formula Glow Boosting Pressed Shimmer Bronzer - ($12)
    Bronzer adds color back to my winter-ized face.  This one has a big ol' kabuki brush.  I love that this bronzer doesn't turn orange like some bronzers can!
     
    What are some things you are loving?  Anything I should checkout?!

    Monday, March 24, 2014

    I'll Be The Judge: Scandalous Looks for 24 Hours? I Dunno About That...

    I love a good drugstore makeup find.  I love wandering around and finding one and telling people about a fabulous one I found! And one that is under $10??? Hollllerrrr.  When I saw Rimmel's ScandalEyes Gel Eyeliner that was supposed to last 24 hours, I was like oooo that sounds nice.  24 hours of nice rich color that doesn't run...  and is waterproof?  Sounds perfect-o (ala Chuggington).

    Sorry for the stock photo.  I was majorly excited to rip into the package.  I should take a picture of it... my 18 month old would seem to do better. 
     
    Where To Get: Drugstores, Ulta
    How Much: Around $6, depending on where you look
    What The Big-Wigs Say:
    Up to 24 hours of rich, intense colour that doesn't flake, smudge, smear or run.
    • Easy to apply, glides easily
    • Professional brush for complete control to draw the lines you want

    P.S., a brush?  I actually did use it.. it worked pretty well!

    I swatched it on my hand, so you could see how rich and pigmented the color is.  So far, so good!
     
    So, I put it on my eyes without a primer at 9 am.
     When I first put it on, I was like wow, this is nice!  It's so black and pigmented!  On the right picture, you can see it did smudge a little, even though I finished "all" my makeup before taking the picture.  So it takes a few minutes to set. 


    My day was normal for me  and not too busy: had a playgroup, ran some errands, lots of snuggles, did a little Zumba (not a full class; just practiced a few songs)... nothing too strenuous. 

    Here's this picture taken around 8:15 pm. 
    You can definitely see it still, so that's always good. It's definitely faded, and in some places (inner eye) completely rubbed off, which is not so good.  It's not quite at pigmented as the beginning of the day, but it still shows potential. 

    What do I mean by that?? Well, if I had a primer on (my favorite is Urban Decay's Primer Potion) it might have lasted longer  I mean, it lasted fairly well with no help, so I can only imagine a primer would be beneficial. 

    I might not run out and tell my buds... or even strangers (that's not weird, is it?) about it... but it's definitely better than some drugstore brands I've tried. 

    What do you think?  Will you be running out to grab it? 

    On a side note... have you entered my giveaway?! Makeup Forever's Aqua Shadow Duo (a $40 value!)  Check it out!


    Thursday, March 6, 2014

    Maybelline, Thanks for 24 Hours of Mommy's Beauty


    I got a lot of questions/comments when I posted about my Mommy's Makeup Kit.  People love to be in the know about what is a good product and what is going to make them feel their best.  So I decided to go in-depth with some of the products and show you some of my kit! 

    I mentioned that Maybelline makes a cream eyeshadow called Color Tattoos - 24 Hour Eyeshadows, and while 24 hours is a bit extreme (I mean, who tests this stuff?), they are a super product to have as a mommy... or even as a non-mom.  They run about $6, and you can usually catch them on a buy one get one 50% off sale at your local drugstore!  I mean, what's not to like?

    I usually apply them with my fingers because they are so creamy.  When  I do so, they are very buildable and don't crease.  If I apply them with a synthetic brush, which I do on clients, they can be very opaque!  And when I apply a coinciding shadow on top of it, whoooo-weeeee, I can't even tell you!  They not only are more opaque, they last a ton longer too (which will happen if you apply powder over any cream product). 

    Here's a few of the colors I own (I actually own more, but they fit perfectly in little 17 month old hands, who might or might not've hid them): 
    From L-R: Bold Gold, Fierce and Tangy, Cool Crush, Inked in Pink, Barely Branded, Nude Compliment

    I wear Barely Branded and Nude Compliment on a regular basis.  A quick swipe across my lid with my finger and my eyes are set for the day!

    Have you ever tried any of these amazing finds?  What are some of your favorite colors I should try?

    TPD

    Wednesday, February 26, 2014

    I'll Be The Judge: The New Healthy Alternative to Gel Manicures???

    I hate nails.  I hate painting them -- they chipped immediately after.  I hate them plain ==I hate the "white" of my nails as they grow.  

    A few years ago, I thought my nail prayers were answered; I found Gel Manicures.  You know.. Shellac?  It seems like every single line of nail polishes had their own version of  gel manicure.  I had gotten them done professionally a few times and loved it.  I didn't love spending the money, but I was happy I got a full week of pretty chip-free nails before I got antsy and picked them off. 

    Then Red Carpet came out with an at home kit for gel manicures and I thought "hallllllelujah!" *play church hymn now*.  For about $70, I could buy a kit and have a manicure all the time?! Sign me up, here's my credit card, overnight it, checcccccccccccck.  'Cept one thing.  Holy snikes this &#(* is hard and annoying and damaging to take off.  So... my at home kit, although amazing to have... annoying to keep doing. 

    I tried top coats and base coats galore.  Nothing was making a difference.  Ugly chips hours after painting.  Argh! Why waste my time?  And dry time?  Ain't nobody got time for that. 

    But... an alternative, you say?  A solution, you say?  Nice nails; no dry time, any color I wanted (including the 50+ bottles of regular nail polish I've collected), and no chips, you say?!

    Again:  Sign me up, here's my credit card, overnight it, checcccccccccccck. At Sephora, I was returning something (thank goodness for their return policy), and this was in their little "here you need to purchase this, too!" section while you're waiting to pay for your crazy priced goodies. 


    Deborah Lippmann's Gel Lab!  A base coat and top coat that you can use with ANY nail color and it's supposed to last as long as a gel manicure... and it comes off with regular nail polish.  Say waaaaa?

    From the Deborah Lippmann site: At long last - achieve a similar high shine, long-wearing finish and cushion-like texture of a gel manicure, only without the lamps, tools, extra time and damage to the nails. This simple, two-step system is your healthy alternative to getting the look of a gel manicure with any regular nail lacquer. Safe, simple and a cinch to remove. Apply a thin, even layer of Gel Lab Base Coat and wait one minute to dry. Paint two coats of nail color and wait two minutes to dry after each coat. Finish with a thin layer of Gel Lab Top Coat - apply sparingly to avoid uneven coating.

    So I thought, I have to get this... it's a necessity... my readers need me to try it out.  People NEED to know... at least that's what I told hubs. 

    I grabbed a tea, shaped my nails up, turned on "Dance Mom's" I've followed Debbie's directions.  I based, painted (x2), and top coated.  And there was MAYBE 3 minutes dry time at the end!!! This mama says THANK YOU! I even just stabbed my nails on my keyboard and nada; No chips/smudgies. 
    Don't be jealous of my amazing paint job.
     
    Can this really be true? I'll let you know.  Keep checking in with me and I'll keep you updated!

     
    Would I Recommend: For right now, it's hard to say.  This baby has got to last a few days for me to recommend!


    And if anyone is interested in the color I am using:
    It's L'Oreal's Rough Around the Edges (139)
     
     
    "Like" TWSS" on Facebook to stay updated on this nail debacle!
     
    Kisses and Hugs - TPD

    Monday, February 24, 2014

    Mommy Makeup Kit - Round 2

    Yesterday I showed you my little arsenal of makeup that I use on a regular basis to bring me back from a sleep deprived dead look.  I call it the "Mommy Makeup Kit".  We covered face basics yesterday and today we are covering eyes/lips. 


    I have quite a bit of variation here with my products for eyes, but tend to stick with neutrals that don't bring too much focus.  However, I like to rock a mean smokey eye, preferably with glitter. 

    As I said yesterday: Now, please, do not judge.  I do not reach for these EVERYDAY.  These are the things I reach for on a regular basis for an everyday look.  I by no means think that everyone needs all these things, but being a mom and being a freelance, part-time makeup artist show no difference in my life.  As you can see there are a mixture of higher end and drugstore products.  There are some things in my collection that I think are important to use higher end products, but I love me some bargain beauty, too!
     
    Disclosure: I paid for all of these products with my own money and I was not sent any of these items for review/monetary benefit.  I really do love and use these products. 
     
    Here's our eyes/lips!
     
     
    1. Urban Decay Naked Palettes (1 & 2 -- No, I do not own 3!!) ($52) -- These are the perfect neutral palettes and are so crazy pigmented and easy to use (even for the beginning makeup lover). And thank you to my sister for giving me letting me borrow the original palette and I just haven't returned it.  "Oops."
    2. Wet & Wild Silent Treatment Palette ($7) -- Here's another little neutral palette, which I bought specifically because of the taupe color.  It's amazingly pigmented and is a wonderful everyday color.   The other two colors (the pink and black) are meh.  The black has goldish glitter and is quite chalky and the pink I can barely even see.  But the taupe... wowieee worth the seven!
    3. L'Oreal Voluminous Million Dollar Lashes ($7) -- Mascara is mascara to me.  I have not found one that I need to have and don't believe in spending more on a super expensive one that needs to be thrown out after a couple months.  That being said, I did buy two in a row of this one, which is big for me!
    4. Jordana Fabuliner Bold ($4) - Nope, not a typo!  Only four bucks for this thing!  If you can write with a pen, you can use this liner; perfect for that cat eye.  It's nice and dark, and stays put for a good amount of time, just make sure you let it dry.
    5. Urban Decay 24/7 Glide on Shadow Pencil in Mushroom ($20) -- I love these pencils and cannot find them anymore at my local Ulta or Sephora.  This one is an amazing colored taupe that I use as a liner to add a little color to my lid that's a little different than your everyday black.  It stays put and don't get me started about pigmentation. 
    6. L'Oreal Voluminous Smoldering Eyeliner ($8) - This is a great eyeliner that I use on my upper waterline.  It is so pigmented and makes my lashes look fuller.  I wouldn't use it on my lid though because when I did try that, it smudged like a motha. 
    7. NYX Butter Gloss in Éclair ($6) - These glosses are so creamy and not sticky at all and create just enough pigment to add that pretty glossy color.  I use it if I want to be fancy... for my 17 month old son. 
    8. Maybelline Color Tattoo in Barely Branded ($6) - Color tattoos are amazing and I have a bunch of them, but I reach for this the most. Sometimes I use them as a primer to make an eyeshadow more pigmented, but more often than not, I just use them as is.  It's perfect for covering up my aging vein-y lids.
    9. EOS Medicated Lip Balm in Tangerine ($3) - If you haven't heard of EOS lip balms, you might've been under a rock.  They are everywhere and Walgreens even created a generic kind.  I have them all over the house in case if I'm one room and need a EOS pick-me-up.  Also, I don't now if all EOS' are medicated, but this orange one is! It even says so.
    10.  Makeup Forever Aqua Cream in #13 ($28) - I use this just like my Maybelline product.  It's creamy, easy to use, and stays pretty well.  Pigmentation is okay, but it needs to be layered up. 
     
    What do you think?  Interested in trying some of these products?  Need to know how to use any or these or see swatches?  What sort of things do you guys use? 
     
     
    Kisses & Hugs - TPD


    Sunday, February 23, 2014

    Makeup for Mommy (Part 1)

    Being a mommy is tiring and very busy work.  Sometimes it takes a lot of effort to keep the little ones entertained, that there's little effort left for yourself.  But sometimes  you need to take a little time to make yourself feel good, too.  For me, if I put a little makeup on my sleep deprived face, I instantly feel more confident and can face the world looking more like a person in society and less like a person who semi-sleeps because their ears are always on listening for a noisy, but cute mini tenant in the room next door.  We will do this in two parts - face today and rest tomorrow!


    So... drumroll... as I present... my...
    MOMMY MAKEUP KIT KIT KIT!
    (That was supposed to be like an echo.)
     
     
    Now, please, do not judge.  I do not reach for these EVERYDAY.  These are the things I reach for on a regular basis for an everyday look.  I by no means think that everyone needs all these things, but being a mom and being a freelance, part-time makeup artist show no difference in my life.  As you can see there are a mixture of higher end and drugstore products.  There are some things in my collection that I think are important to use higher end products, but I love me some bargain beauty, too!
     
    Disclosure: I paid for all of these products with my own money and I was not sent any of these items for review/monetary benefit.  I really do love and use these products. 
     
     
    Let's take a closer peek at these amazing products for our face!
     
    1. Garnier Skin Renew Miracle Skin Perfector Bb Cream, Combination To Oily Skin ($12) - This says it does all these super-dee-duper things (evens tone, hydrates, renews, protects, and brightens), but I use it because it's lightweight and it helps create an even canvas for the work of art I create on my face. 
     
    2. Maybelline New York Instant Age Rewind Eraser Dark Circles Treatment Concealer, Brightener ($8) - Do you need any explanation for why we would need this?  I think not.  However, I use the brightener.  They also have a neutralizing color, as well as colors for your skin tone.
     
    3. TOO FACED Matte Bronzing Power - Chocolate Soleil ($15-$30) - I love this bronzer to give my round face a little contouring.  It may be a little dark for some skin tones, but I love it! Plus, it smells like... chocolate!
     
    4. Anastasia Beverly Hills DIPBROW ($18) - When I was in high school, I went a little tweeze happy, and they never really came back right.  Boo.  This stuff staaaaays.  After all day with Baby J, plus teaching a Zumba class, I still have to remove it at the end of the day!
     
    5. MAC Powder Blush in Gingerly   ($18) - I once read somewhere that you should not leave the house without blush.  This is the one that Kim Kardashian supposedly uses.  I'll let you make your own judgment of that statement.
     
    6. Clean & Clear Dual Action Moisturizer ($6) - Admittedly, I'm not a brand brat with moisturizer.  However, I do like that this one has a little salicylic acid in it because after I teach a class, my pores can still be a little clogged with yuck. 
     
    7. The Balm In Stain Blush Argyle Blush ($17) - I actually have three of these, but this is the one I reach for the most.  They are longwearing and leave behind a natural "Nooooo... I'm-not-wearing-blush" stained look. 


    So what about you?  What do you wear to make your face look a little more alive?  Do you guys want some swatches? 
     
    See you tomorrow for Part II! Kisses & Hugs - TPD